Building a Decca Tree with XD Bars: dimensions, connections, and checks
Combine a 2 m main bar with a 1 m or 1.5 m forward bar to build a measurable, repeatable T-shaped array.

Contents
What this article covers
5 chapters · About 7 minutes
Geometry
Keep left and right symmetrical, with centre forward on the axis
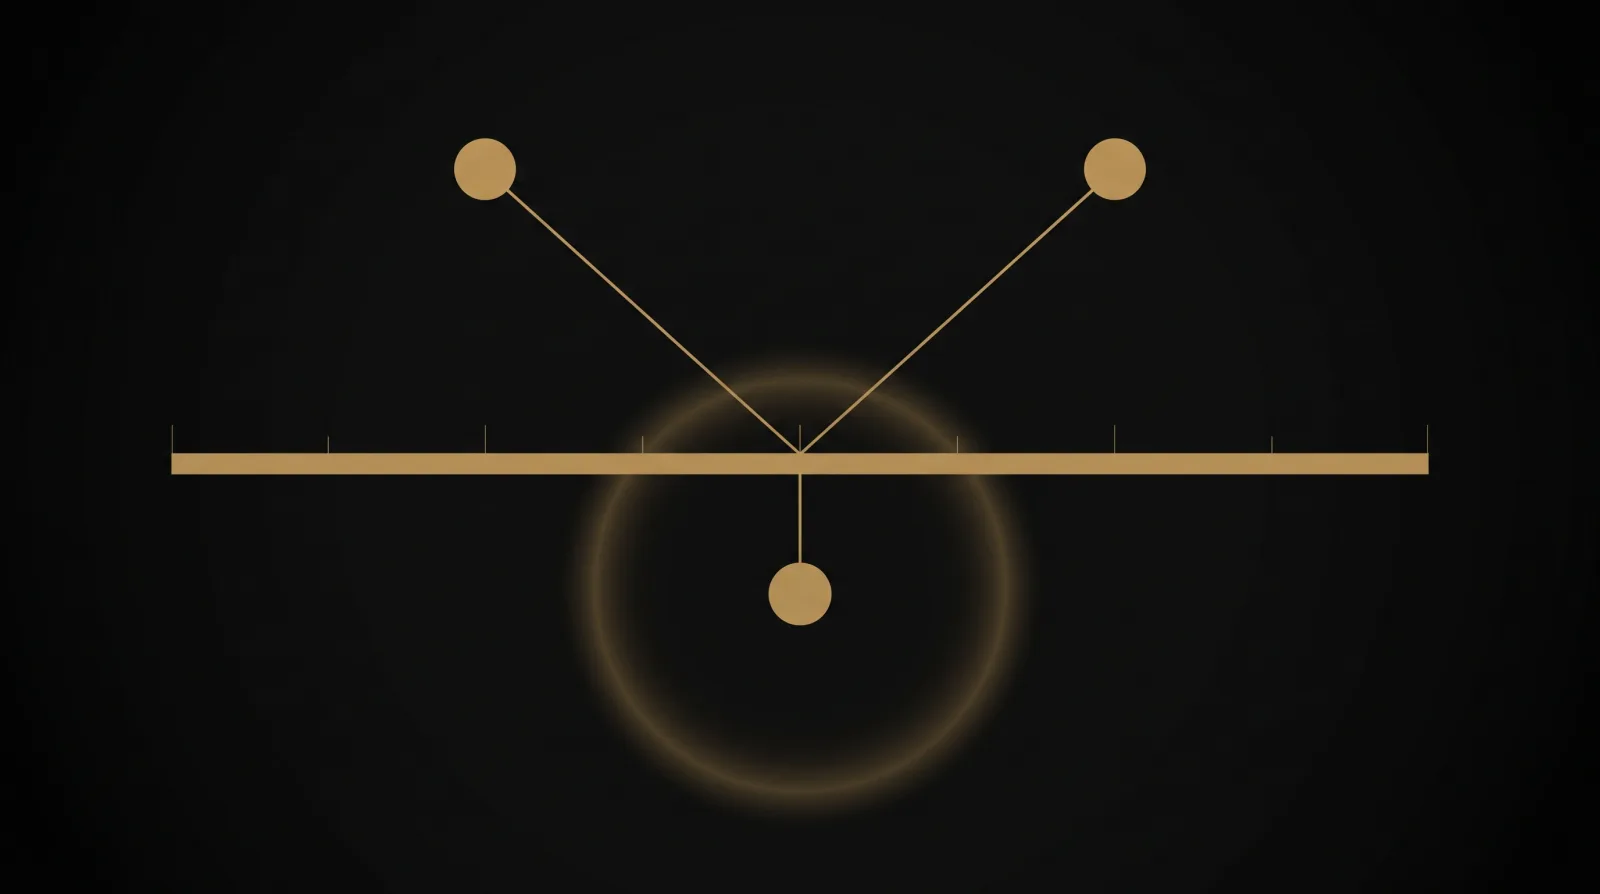
Engineers at the Decca Record Company developed the Decca Tree in the 1950s. Its established form normally uses three spaced omnidirectional microphones: L and R sit at the ends of the rear bar, while C projects toward the source along the centreline, forming an isosceles triangle.[1][3] DPA gives roughly 2 m between L and R with C about 1 m forward as a common starting point; a SCHOEPS example is 2 m wide and 1.5 m deep.[1][3] These are starting points, not a universal standard. The two diagonal sides should remain symmetrical. The 110° figure sometimes applied here actually describes the typical axis angle of ORTF.[4]
Structure
One straight bar is not enough: build a T
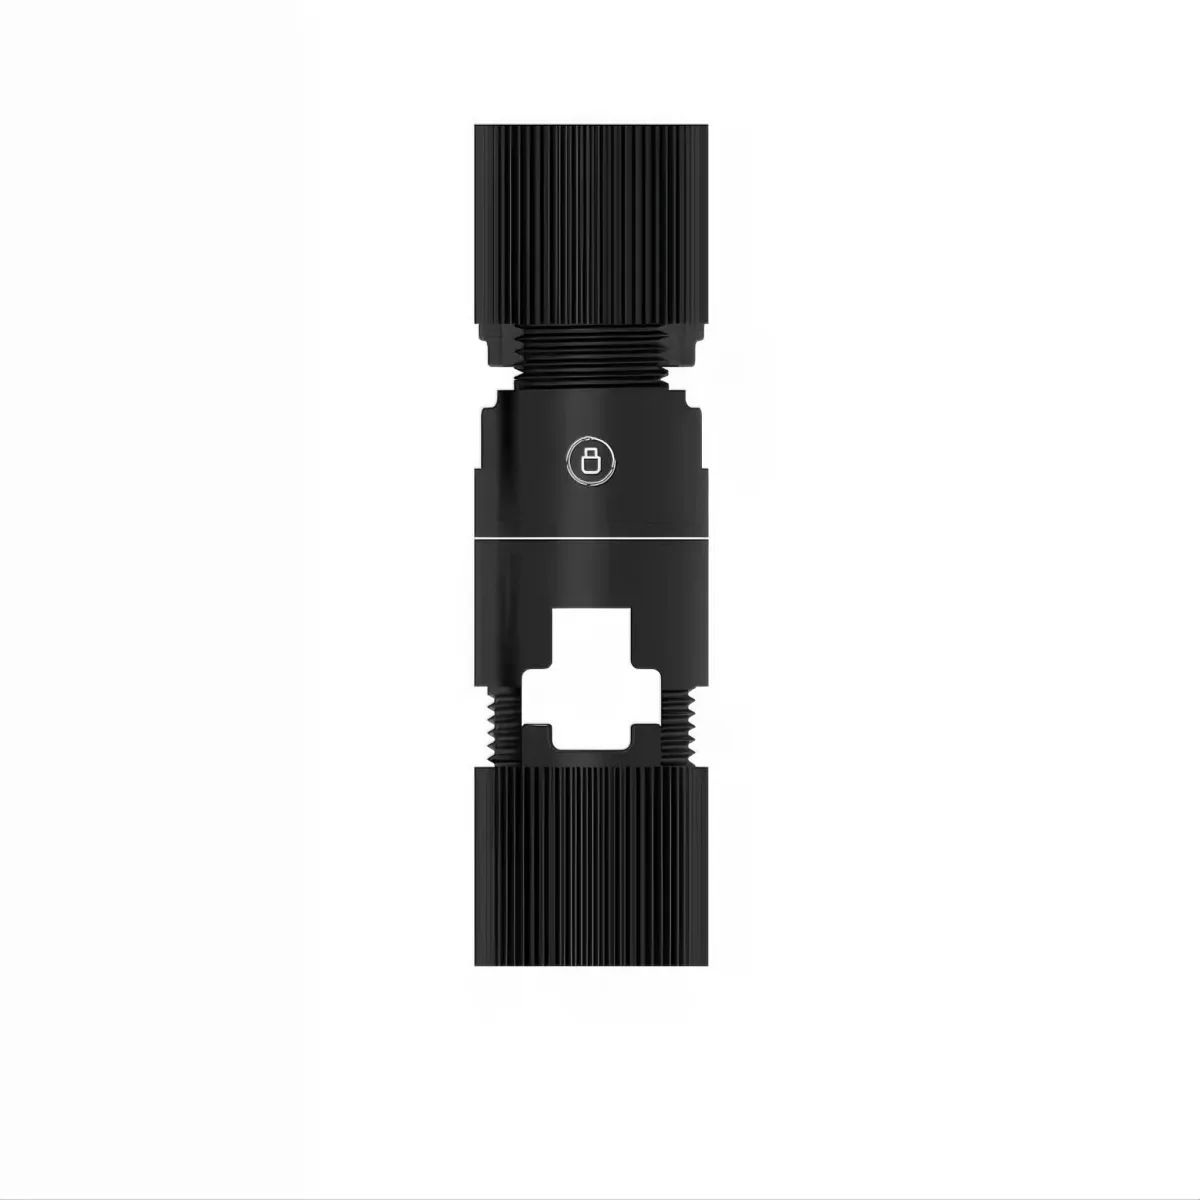
XD Bars are available in 40 cm, 60 cm, 1 m, 1.5 m, and 2 m lengths.[5] For a conventional Decca Tree starting size, use the 2 m bar as the L/R main bar, then project C forward with a 1 m or 1.5 m bar joined by the locking version of XD3.[8] A single 2 m bar only creates a straight line, not the triangular geometry of a Decca Tree. Allow for connectors, sliders, and end clearance, then measure the final positions from the acoustic centres of the three microphones.
Position
Set height and aim by listening to the programme
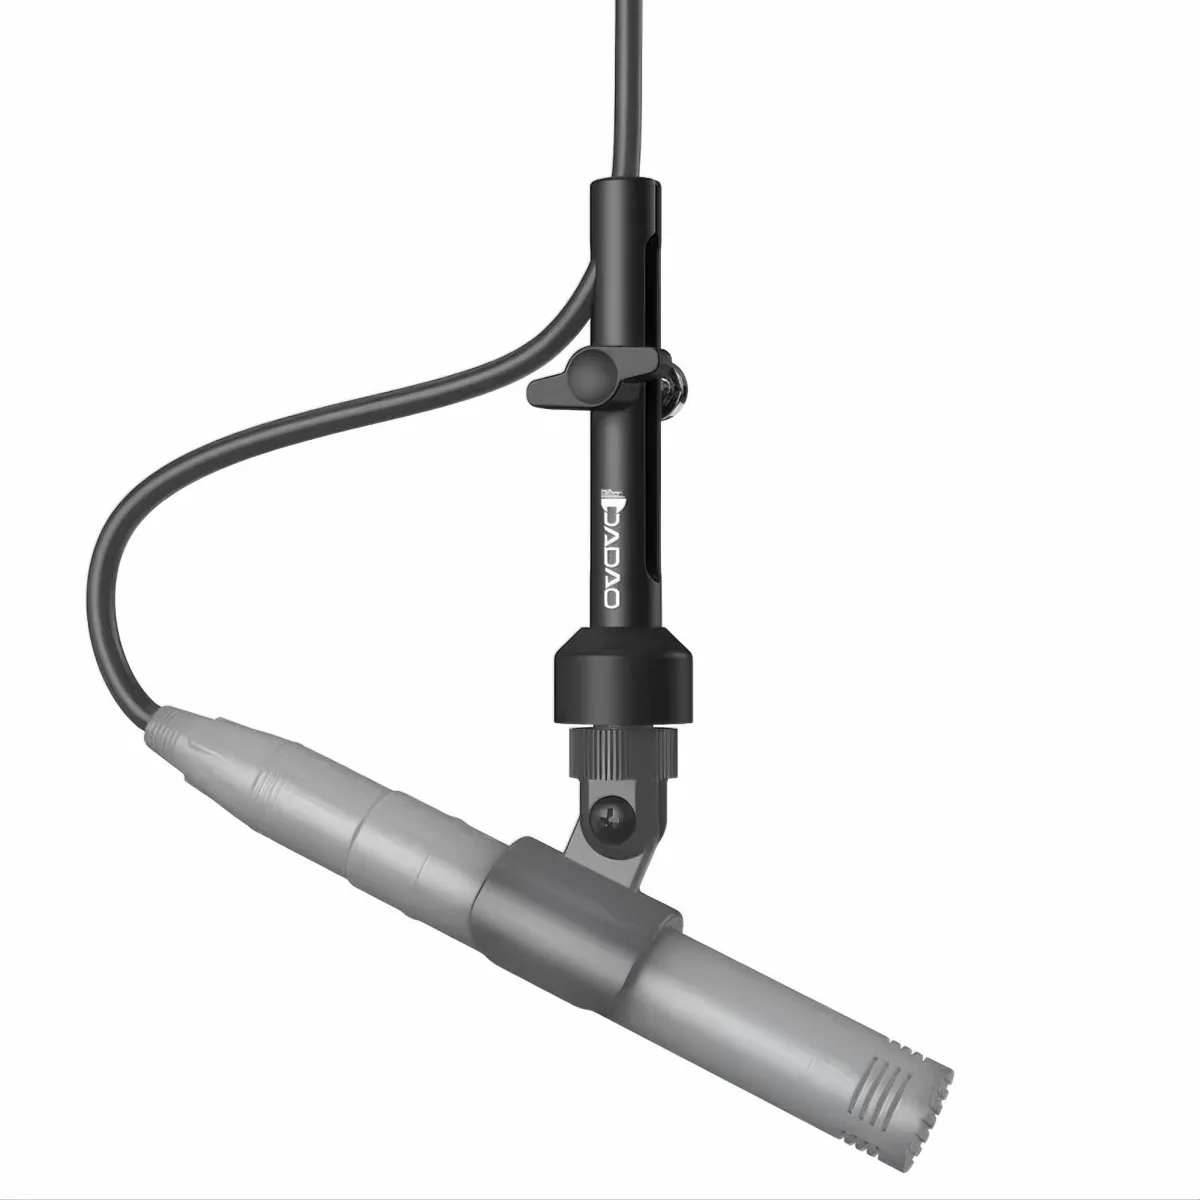
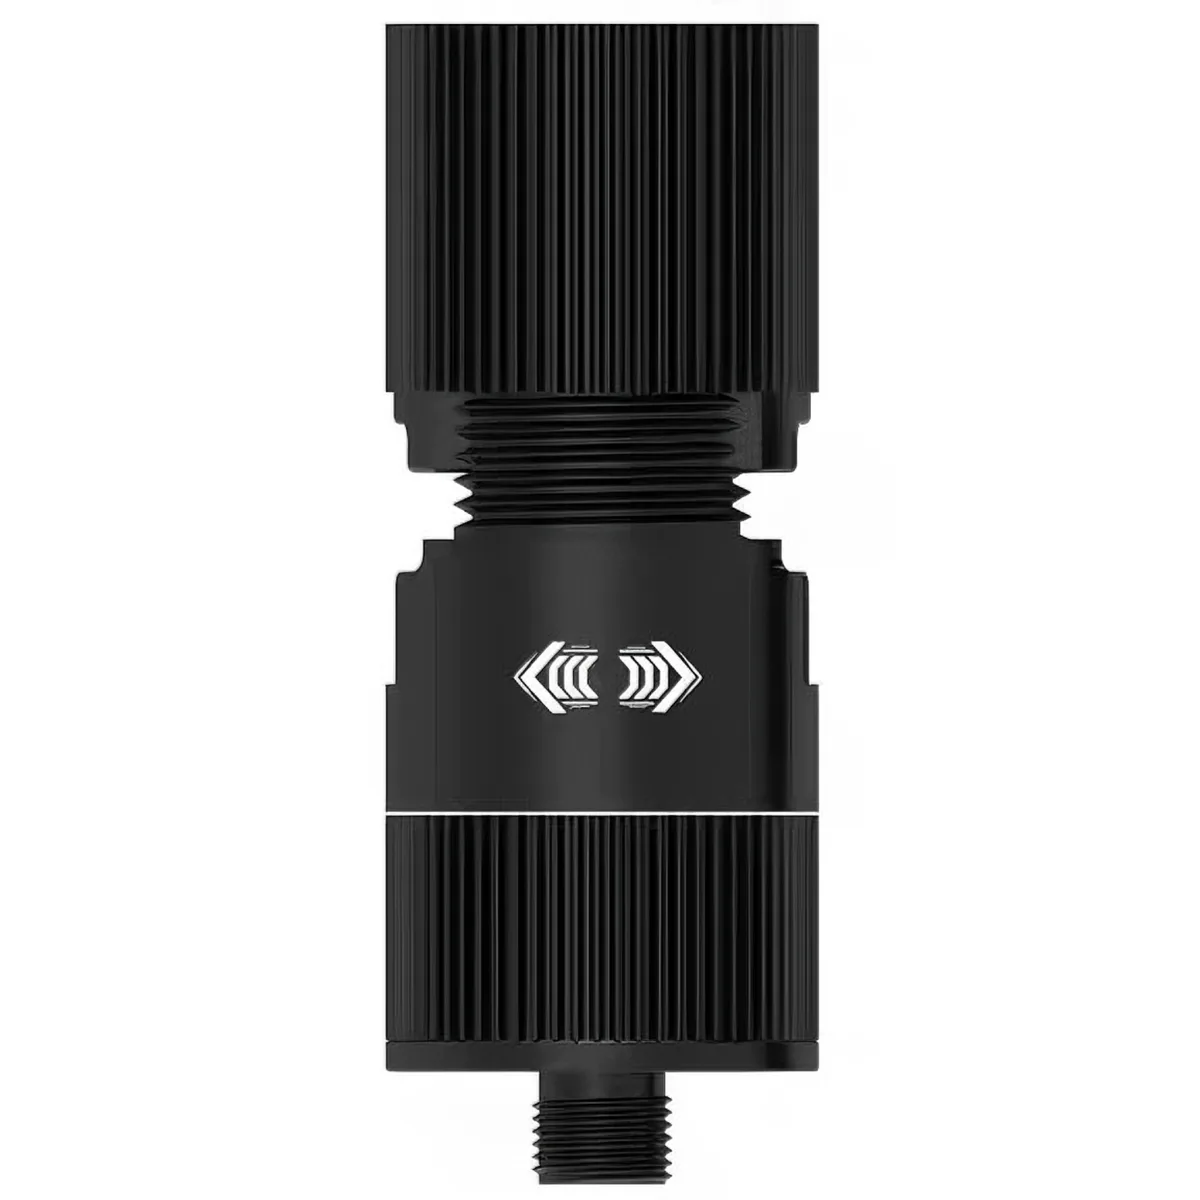
DPA lists about 2.5–3 m as a common starting height, but the final position still depends on ensemble width, room acoustics, and the desired proportion of direct sound.[1] Classic Decca Trees often use omnidirectional microphones. The SCHOEPS example allows all three to face forward or the L/R pair to angle slightly outward.[3] Omnidirectional microphones can still become directional at high frequencies, and cardioid or other patterns require a fresh check of off-axis colour. XD2 mounts and positions each microphone along a bar; XD3 connects one bar to another. Their roles are not interchangeable.[7][8]
Safety
Check load, locks, and secondary safety before suspension
The current XD1 specifications list a mass of 39.5 g, a 3/8-inch interface, and continuous 360° rotation.[6] Those figures describe the component itself; they do not establish that the complete system has a natural frequency below 10 Hz or that vibration above 20 Hz is already adequately attenuated. The actual load also includes the bars, connectors, three microphones, and cables. Before raising the array, verify the rated load, every locking point, and an independent safety cable. Any vibration-isolation claim should be supported by transmissibility or resonance measurements under a defined load.
Workflow
A more reliable setup sequence
Mark the midpoint of the 2 m main bar on the floor and mount L/R symmetrically. Join the 1 m or 1.5 m forward bar with the locking XD3 and place C on the centreline. Position the three microphones with XD2, adding XD1 only when the array will be suspended.[5][6][7][8] After tightening the assembly, measure from the microphones’ acoustic centres, confirm L/R symmetry, C projection, and bar level, then add the safety cable and raise the array. Once connected, verify channel names, polarity, gain, stereo image, and mono compatibility before adjusting height and fore-aft position with the real programme.
References
Sources
Standards, technical documents, and official manufacturer pages checked for this revision.
- 1Decca Tree
DPA Microphones · Accessed 2026-08-09
- 2Decca Tree Set
SCHOEPS · Accessed 2026-08-09
- 3Surround Recording Techniques
SCHOEPS · Accessed 2026-08-09
- 4A27M Stereo Microphone Adapter User Guide
Shure · Accessed 2026-08-09
- 5XD Bar Product Specifications
DADAO AUDIO · Accessed 2026-08-09
- 6XD1 Product Specifications
DADAO AUDIO · Accessed 2026-08-09
- 7XD2 Product Specifications
DADAO AUDIO · Accessed 2026-08-09
- 8XD3 Product Specifications
DADAO AUDIO · Accessed 2026-08-09
Related Products · Related products